Taking Attendance (Period-only tracking)
- Log in to Saga Connect.
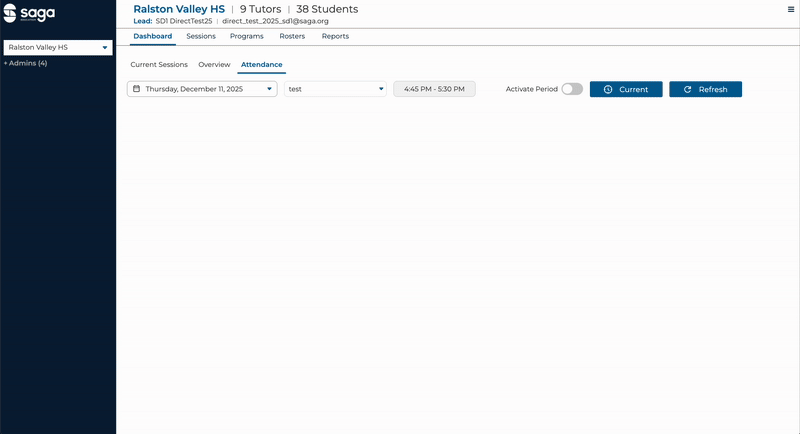
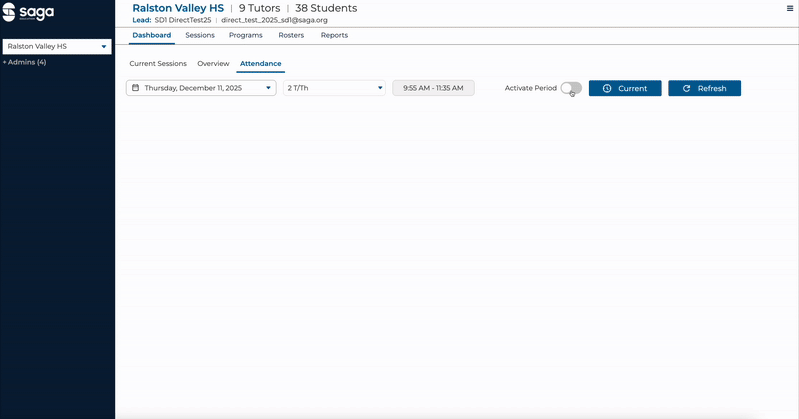
- Click on the Attendance tab. Notice the drop down menus for both the date and periods for your program.

If you view this page outside of tutoring hours, you will see a Today button. This button allows you to easily toggle from some other day and period to Today’s attendance.

If you view the Attendance tab while tutoring is happening, you will notice a Current button instead which will automatically take you to the active period that day.

The Refresh button refreshes the data shown on the page. It is not recommended that multiple users take attendance at the exact same time for the same period of students, but if you are, please refresh your page before taking attendance to ensure you see the most up-to-date changes.

The Activate Period toggle allows you to activate attendance for the selected period.

- Clicking the Activate Period toggle will expand the view so that you can see the student attendance cards for the selected period. Clicking activate will automatically set all students’ attendance to 100%. Attendance should be manually updated for each period, by selecting the correct percentage of time spent in class for that period on the slider. Note: Toggling the Activate Period to off will discard any changes that were previously made and set all students to an excused state.
- For long attendance rosters, you can use the search bar to locate students quickly.
- If a student is Tardy, Excused Absent, or Excused Tardy, you can click the button indicators to update their status. Notice the Absent flag on students who have not had attendance taken.
- To add a note to a student’s attendance card, click the View Details on the student’s attendance card, and then click + Add Note. Click the ✓ to save or the ⓧ to cancel.

- To batch edit attendance records, click the Show Bulk Actions button.
- First select the students you’d like to batch edit by clicking the checkbox in the upper left corner of each student’s attendance card or the Select All checkbox.
- Use the drop down to select the status for the group of students selected.
- You can optionally add a note.
- Click Apply to add your changes.
